Advanced Features
GPU passthrough, automation scripts, and UI customization for power users
Advanced Features
Infinibay provides powerful advanced features for users who need more control: simplified GPU passthrough, automation scripts, and full UI customization.
Simplified GPU Passthrough
GPU passthrough allows virtual machines to directly access physical graphics cards for gaming, CAD, machine learning, or video editing workloads.
Why GPU Passthrough?
Virtual graphics (QXL/VirtIO) are sufficient for office work, but fall short for:
- Gaming: Modern games require dedicated GPU performance
- 3D Modeling/CAD: AutoCAD, SolidWorks, Blender need GPU acceleration
- Video Editing: DaVinci Resolve, Adobe Premiere benefit from GPU encoding
- Machine Learning: TensorFlow, PyTorch require CUDA/ROCm support
- Cryptocurrency Mining: Direct GPU access for mining operations
Traditional GPU passthrough requires:
- Manual PCI device identification
- IOMMU group analysis and splitting
- VFIO driver binding
- Kernel parameter configuration
- XML domain editing
Infinibay simplifies this to a single click.
How Infinibay Makes It Simple
During VM creation (Step 4: GPU Selection), choose a GPU from the dropdown:
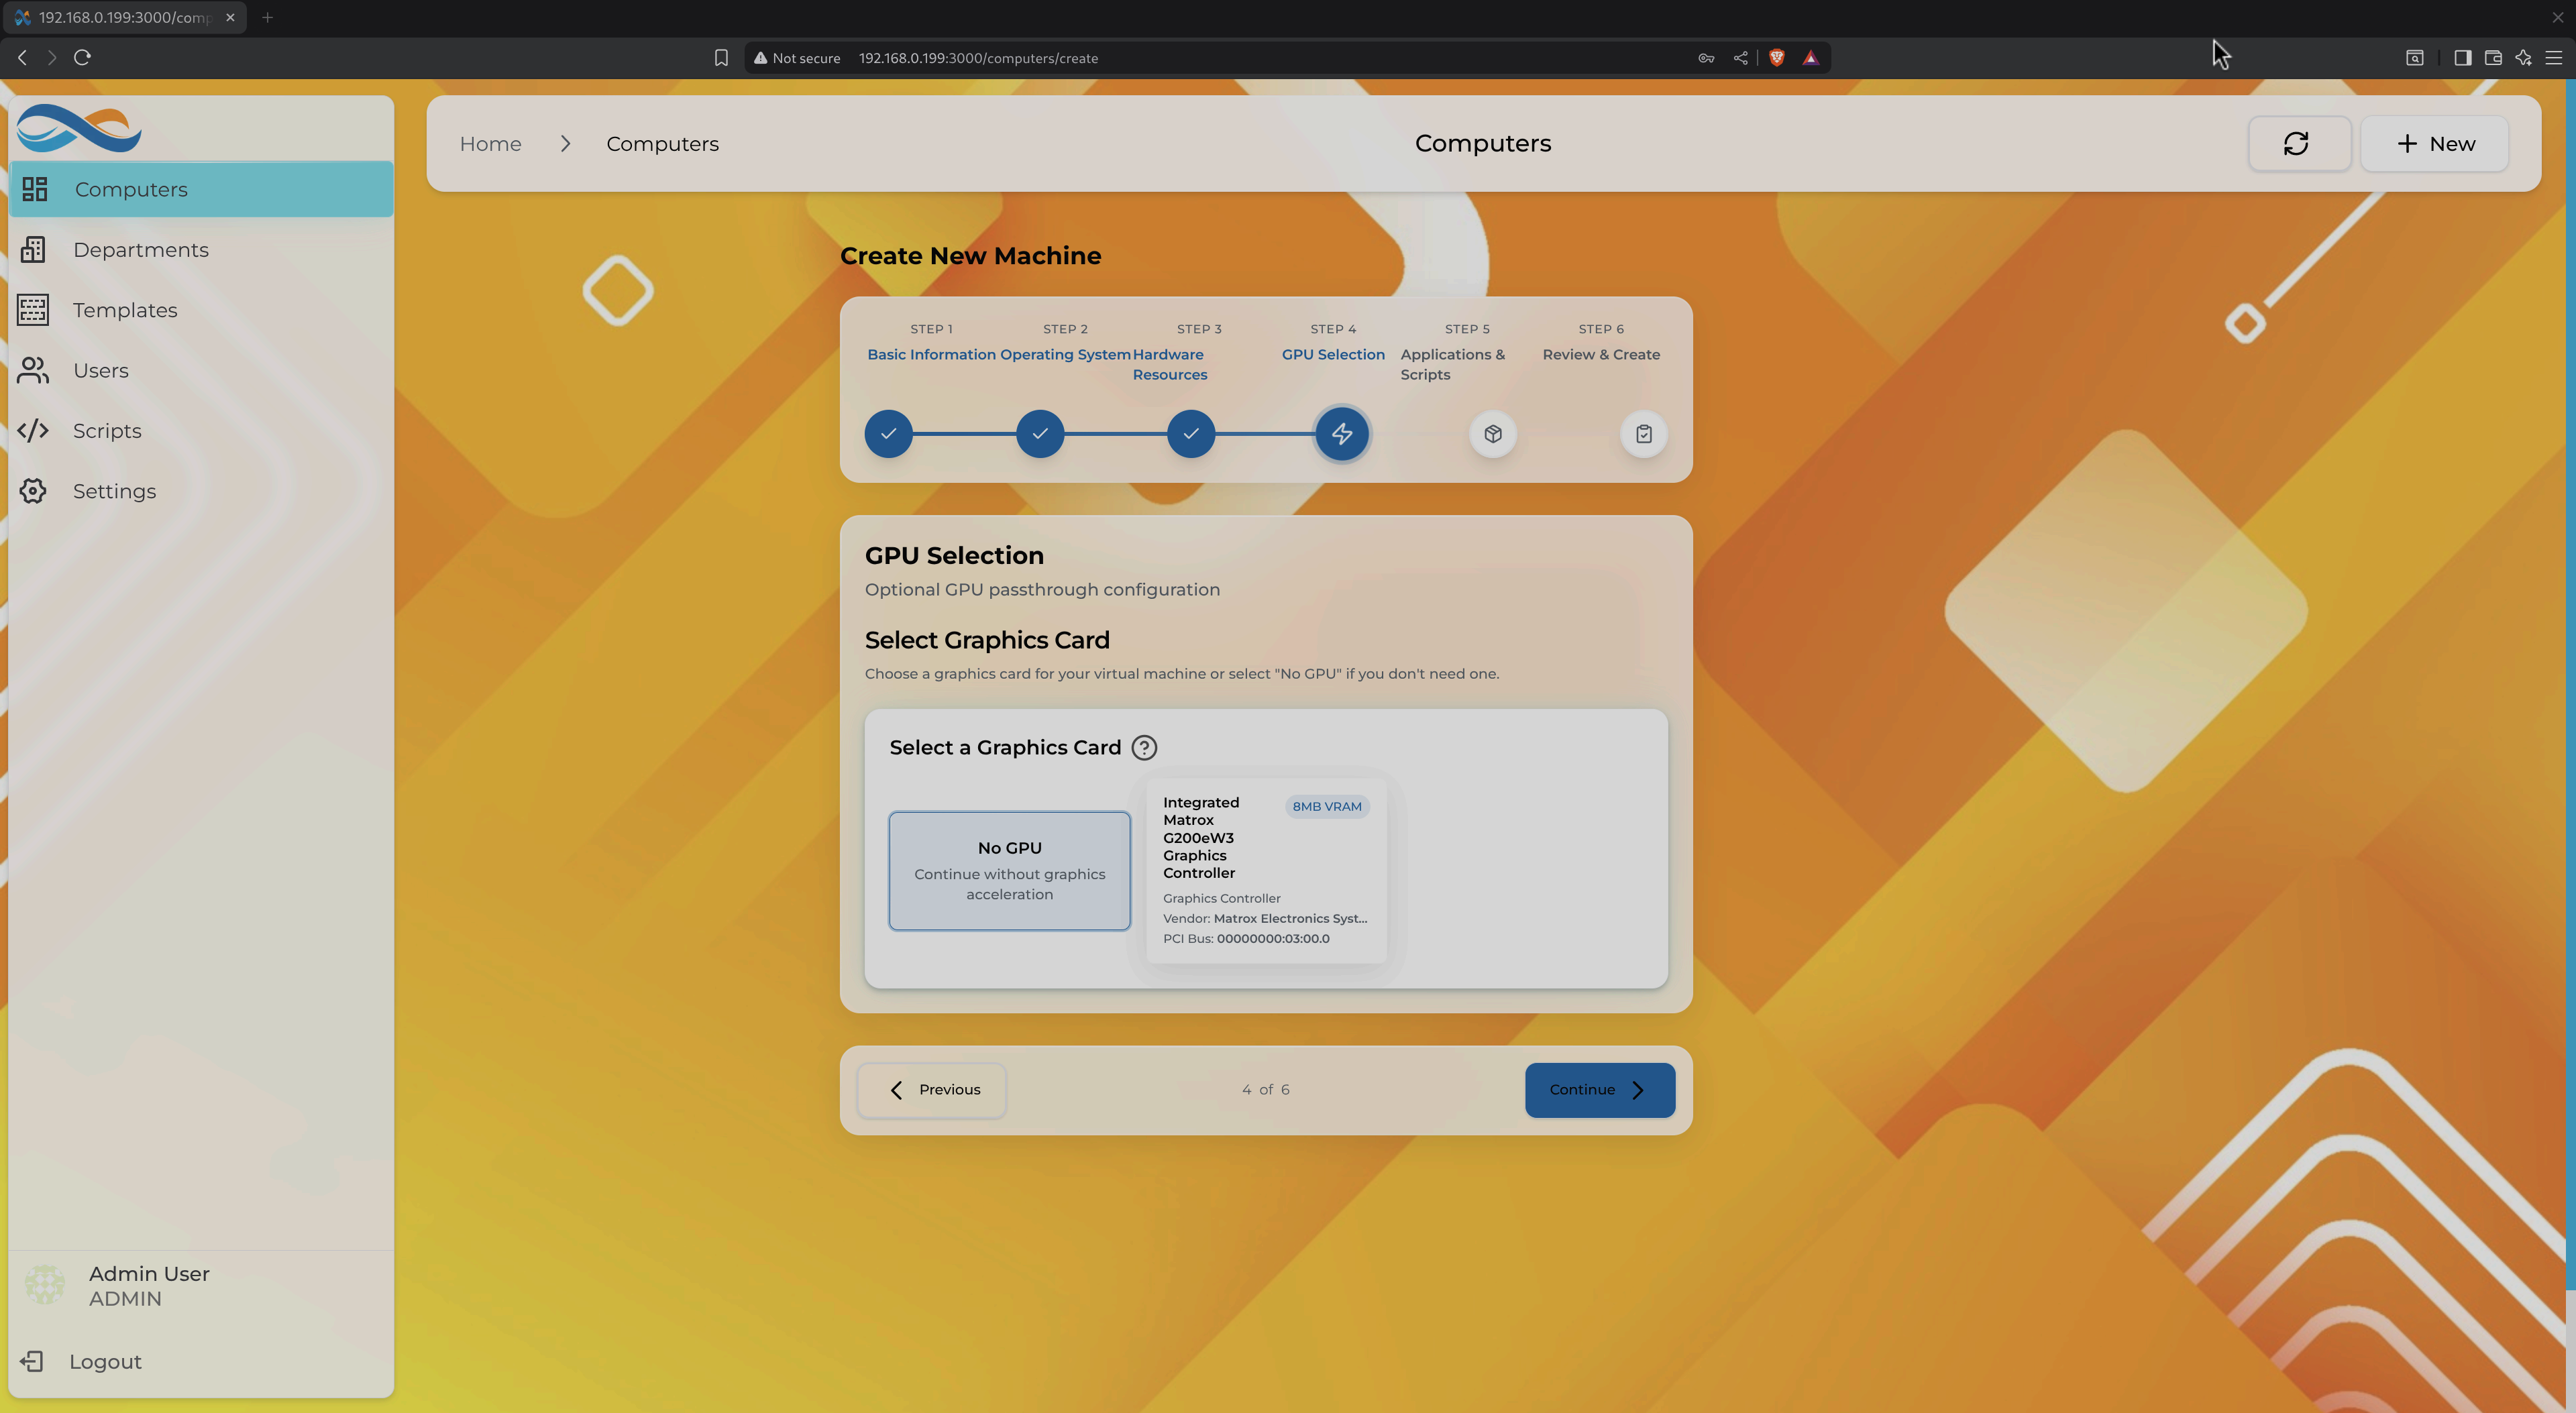
What Infinibay Does Automatically:
- Device Detection: Scans PCI bus for available GPUs (NVIDIA, AMD, Intel Arc)
- IOMMU Validation: Ensures GPU is in isolated IOMMU group
- Driver Management: Unbinds host drivers, binds VFIO-PCI
- XML Configuration: Generates proper libvirt domain XML with:
- PCI hostdev passthrough
- CPU pinning for optimal performance
- Huge pages allocation
- NUMA topology configuration
- ROM Handling: Extracts and applies GPU VBIOS if needed
- Multi-GPU Support: Handles systems with multiple GPUs
GPU Passthrough Requirements
Hardware:
- CPU: Intel VT-d or AMD-Vi support (enabled in BIOS)
- Motherboard: IOMMU support
- GPU: Must be in separate IOMMU group from host GPU
- Minimum 2 GPUs: One for host, one for passthrough
Software:
- Host kernel:
intel_iommu=onoramd_iommu=on(Infinibay installer configures this) - VFIO modules loaded
Checking IOMMU Groups:
Infinibay's installer automatically validates IOMMU configuration. You can verify manually from the host:
# Check if IOMMU is enabled
dmesg | grep -i iommu

# List IOMMU groups
for d in /sys/kernel/iommu_groups/*/devices/*; do
  n=${d#*/iommu_groups/*}; n=${n%%/*}
  printf 'IOMMU Group %s ' "$n"
  lspci -nns "${d##*/}"
done
GPUs in separate groups can be passed through independently.
GPU Passthrough Best Practices
- Dedicated GPU: Use a separate GPU for passthrough (not the host display adapter)
- Performance: Expect 95-98% native GPU performance in the VM
- Driver Installation: Install GPU drivers inside the VM (NVIDIA, AMD, or Intel)
- Windows Guests: Use latest VirtIO drivers for optimal compatibility
- Looking Glass: Consider Looking Glass for low-latency GPU output to host
Troubleshooting GPU Passthrough
VM fails to start:
- Check IOMMU is enabled:
dmesg | grep IOMMU - Verify GPU is bound to VFIO:
lspci -k(should showvfio-pcidriver) - Check libvirt logs:
sudo journalctl -u libvirtd
Black screen in VM:
- Try extracting GPU VBIOS and specifying it in Infinibay settings
- Some GPUs require CSM disabled in BIOS
- NVIDIA GPUs may need error code 43 workarounds (Infinibay handles this automatically)
Poor performance:
- Enable CPU pinning in VM settings (Infinibay suggests optimal pinning)
- Allocate huge pages for guest memory
- Check host isn't using the passed-through GPU
Automation Scripts
The Scripts feature allows you to automate repetitive tasks across VMs: software installation, configuration management, monitoring, and maintenance.
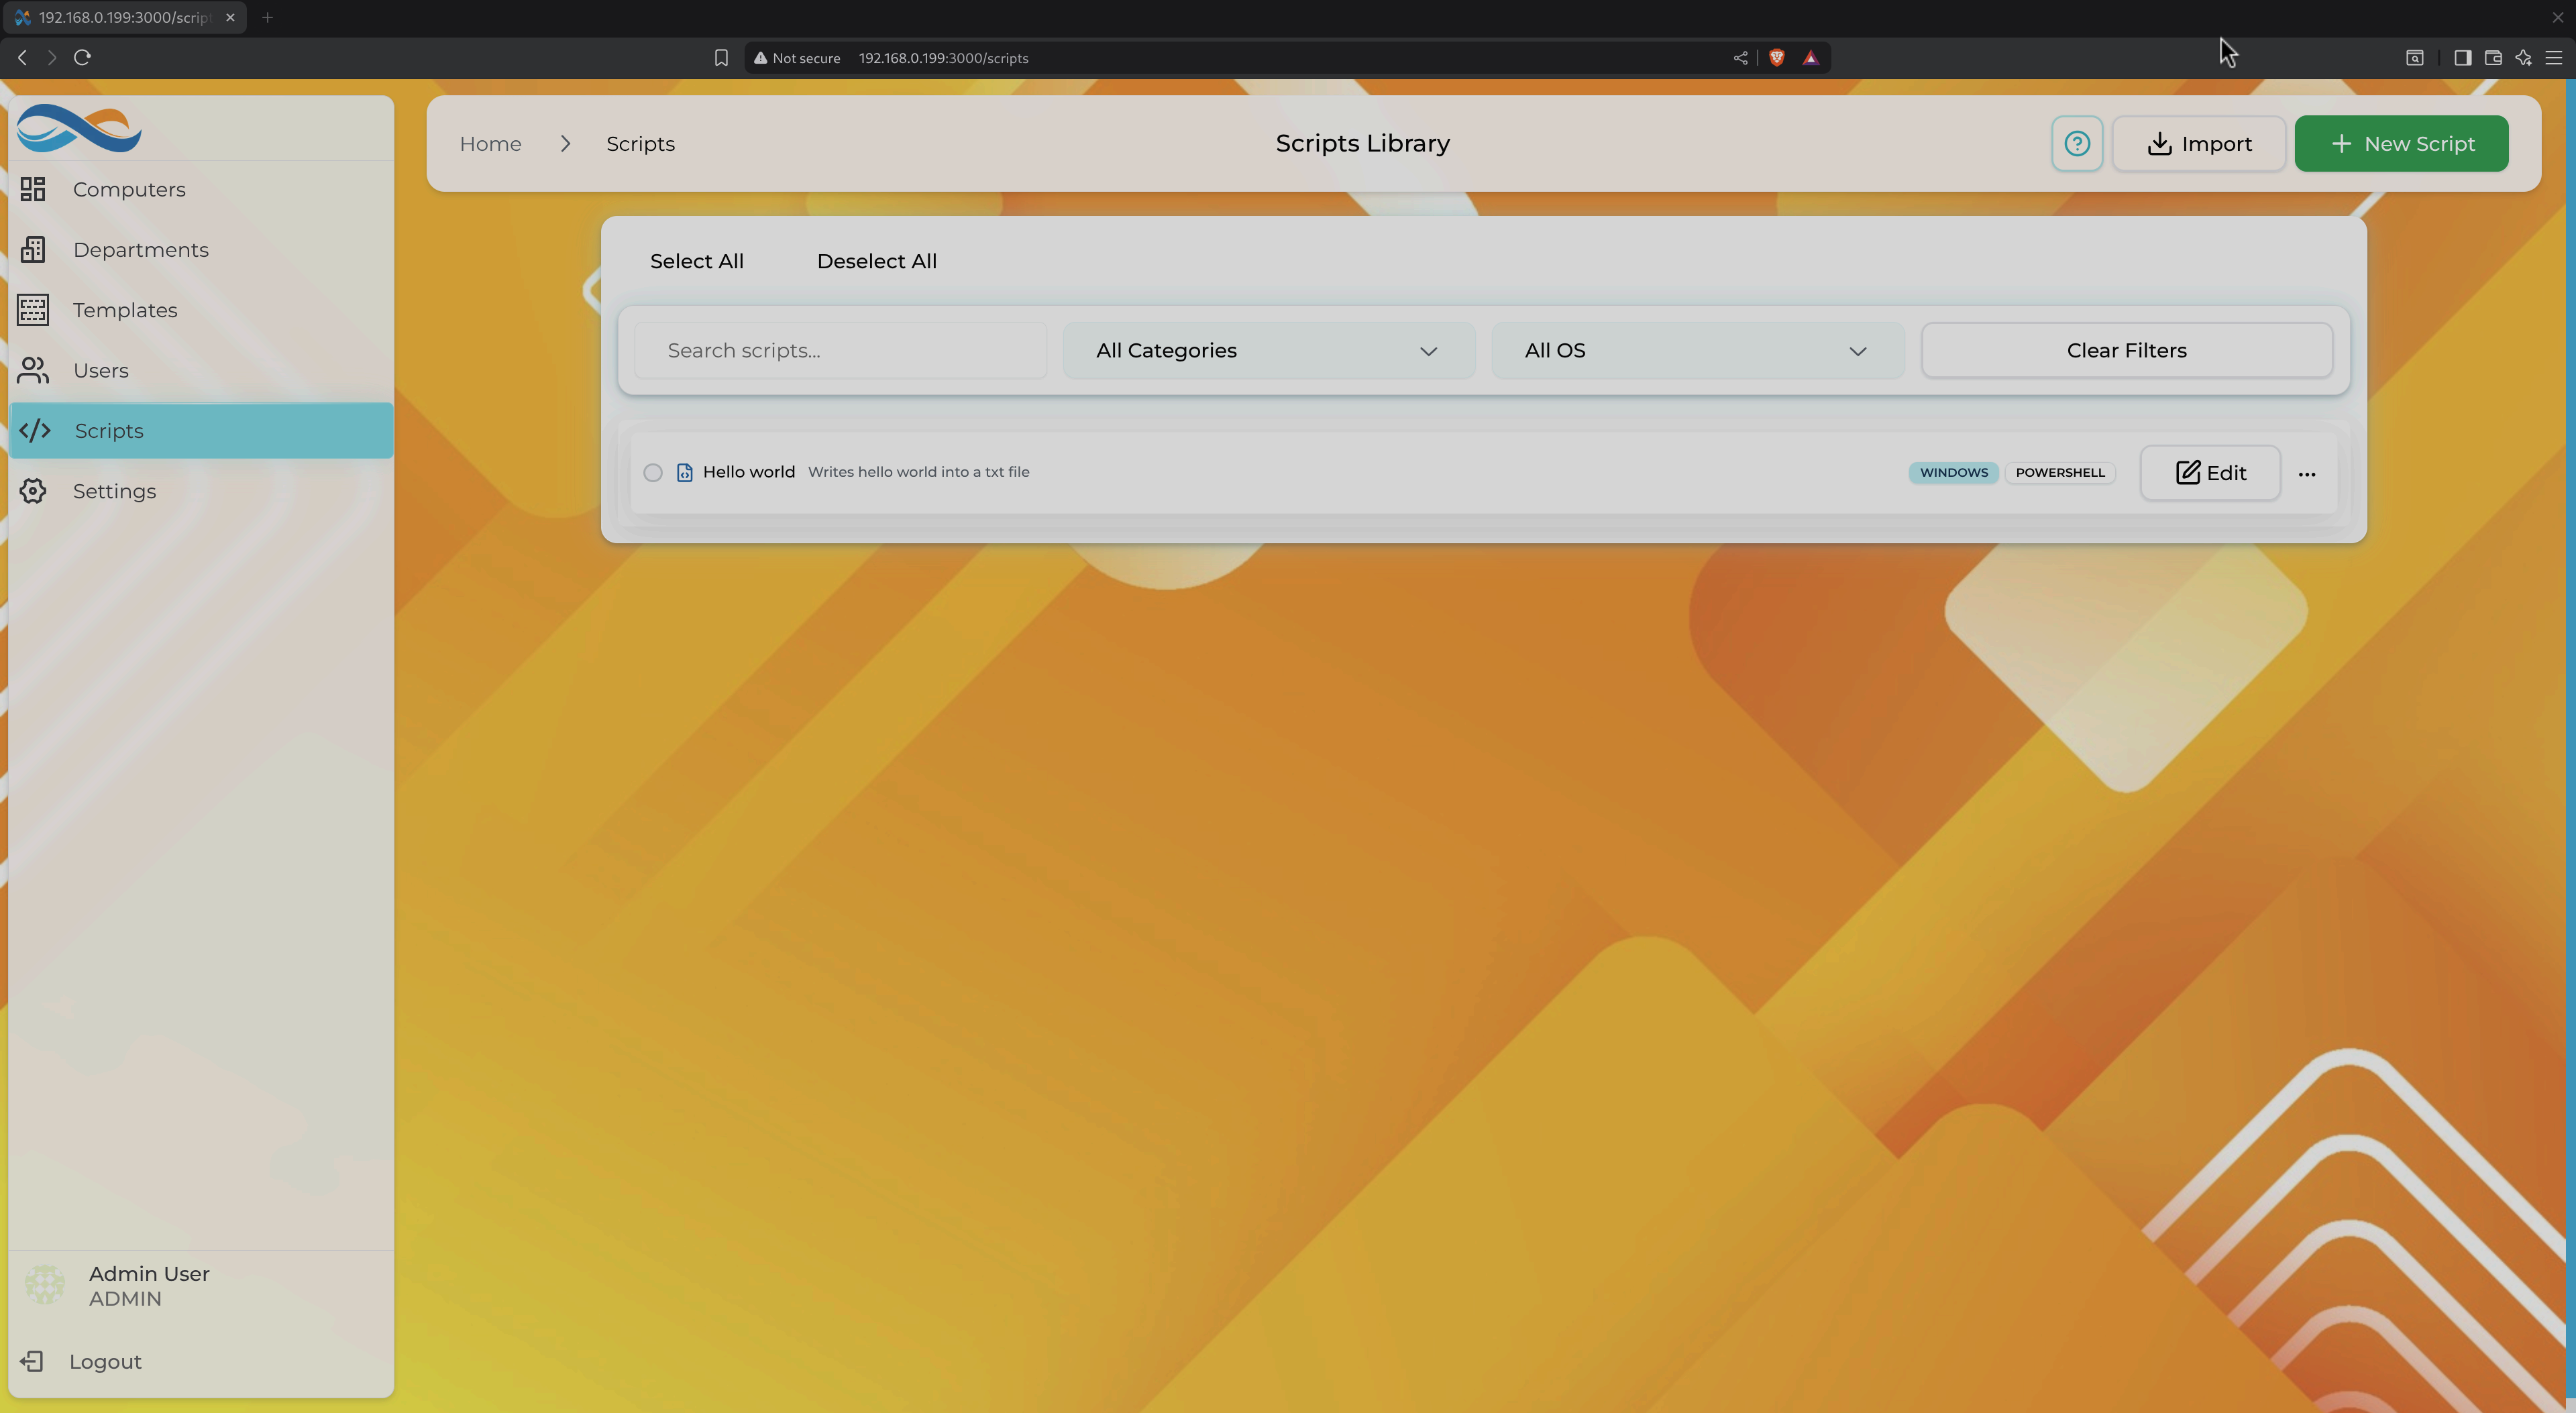
Scripts library with search, filtering, and OS/shell type indicators
What Are Scripts?
Scripts are reusable automation tasks that can be:
- Scheduled: Run at specified times with repeat intervals
- Manual: Execute on-demand from the UI
- First Boot: Run automatically when a VM is first created
Script Types
Infinibay supports multiple script types based on the target OS:
Windows:
- PowerShell: Modern automation (
.ps1) - CMD: Legacy command scripts (
.cmd,.bat)
Linux:
- Bash: Shell scripts (
.sh) - SH: POSIX shell scripts
Creating Scripts
Click "New Script" from the Scripts page to open the script editor:
- Name & Description: Identify the script's purpose
- Operating System: Windows or Linux
- Shell Type: PowerShell, CMD, Bash, or SH
- Script Content: Write or paste your automation code
- Execution Options:
- Run as Administrator/Root
- Timeout (max execution time)
- Output capture (stdout/stderr)
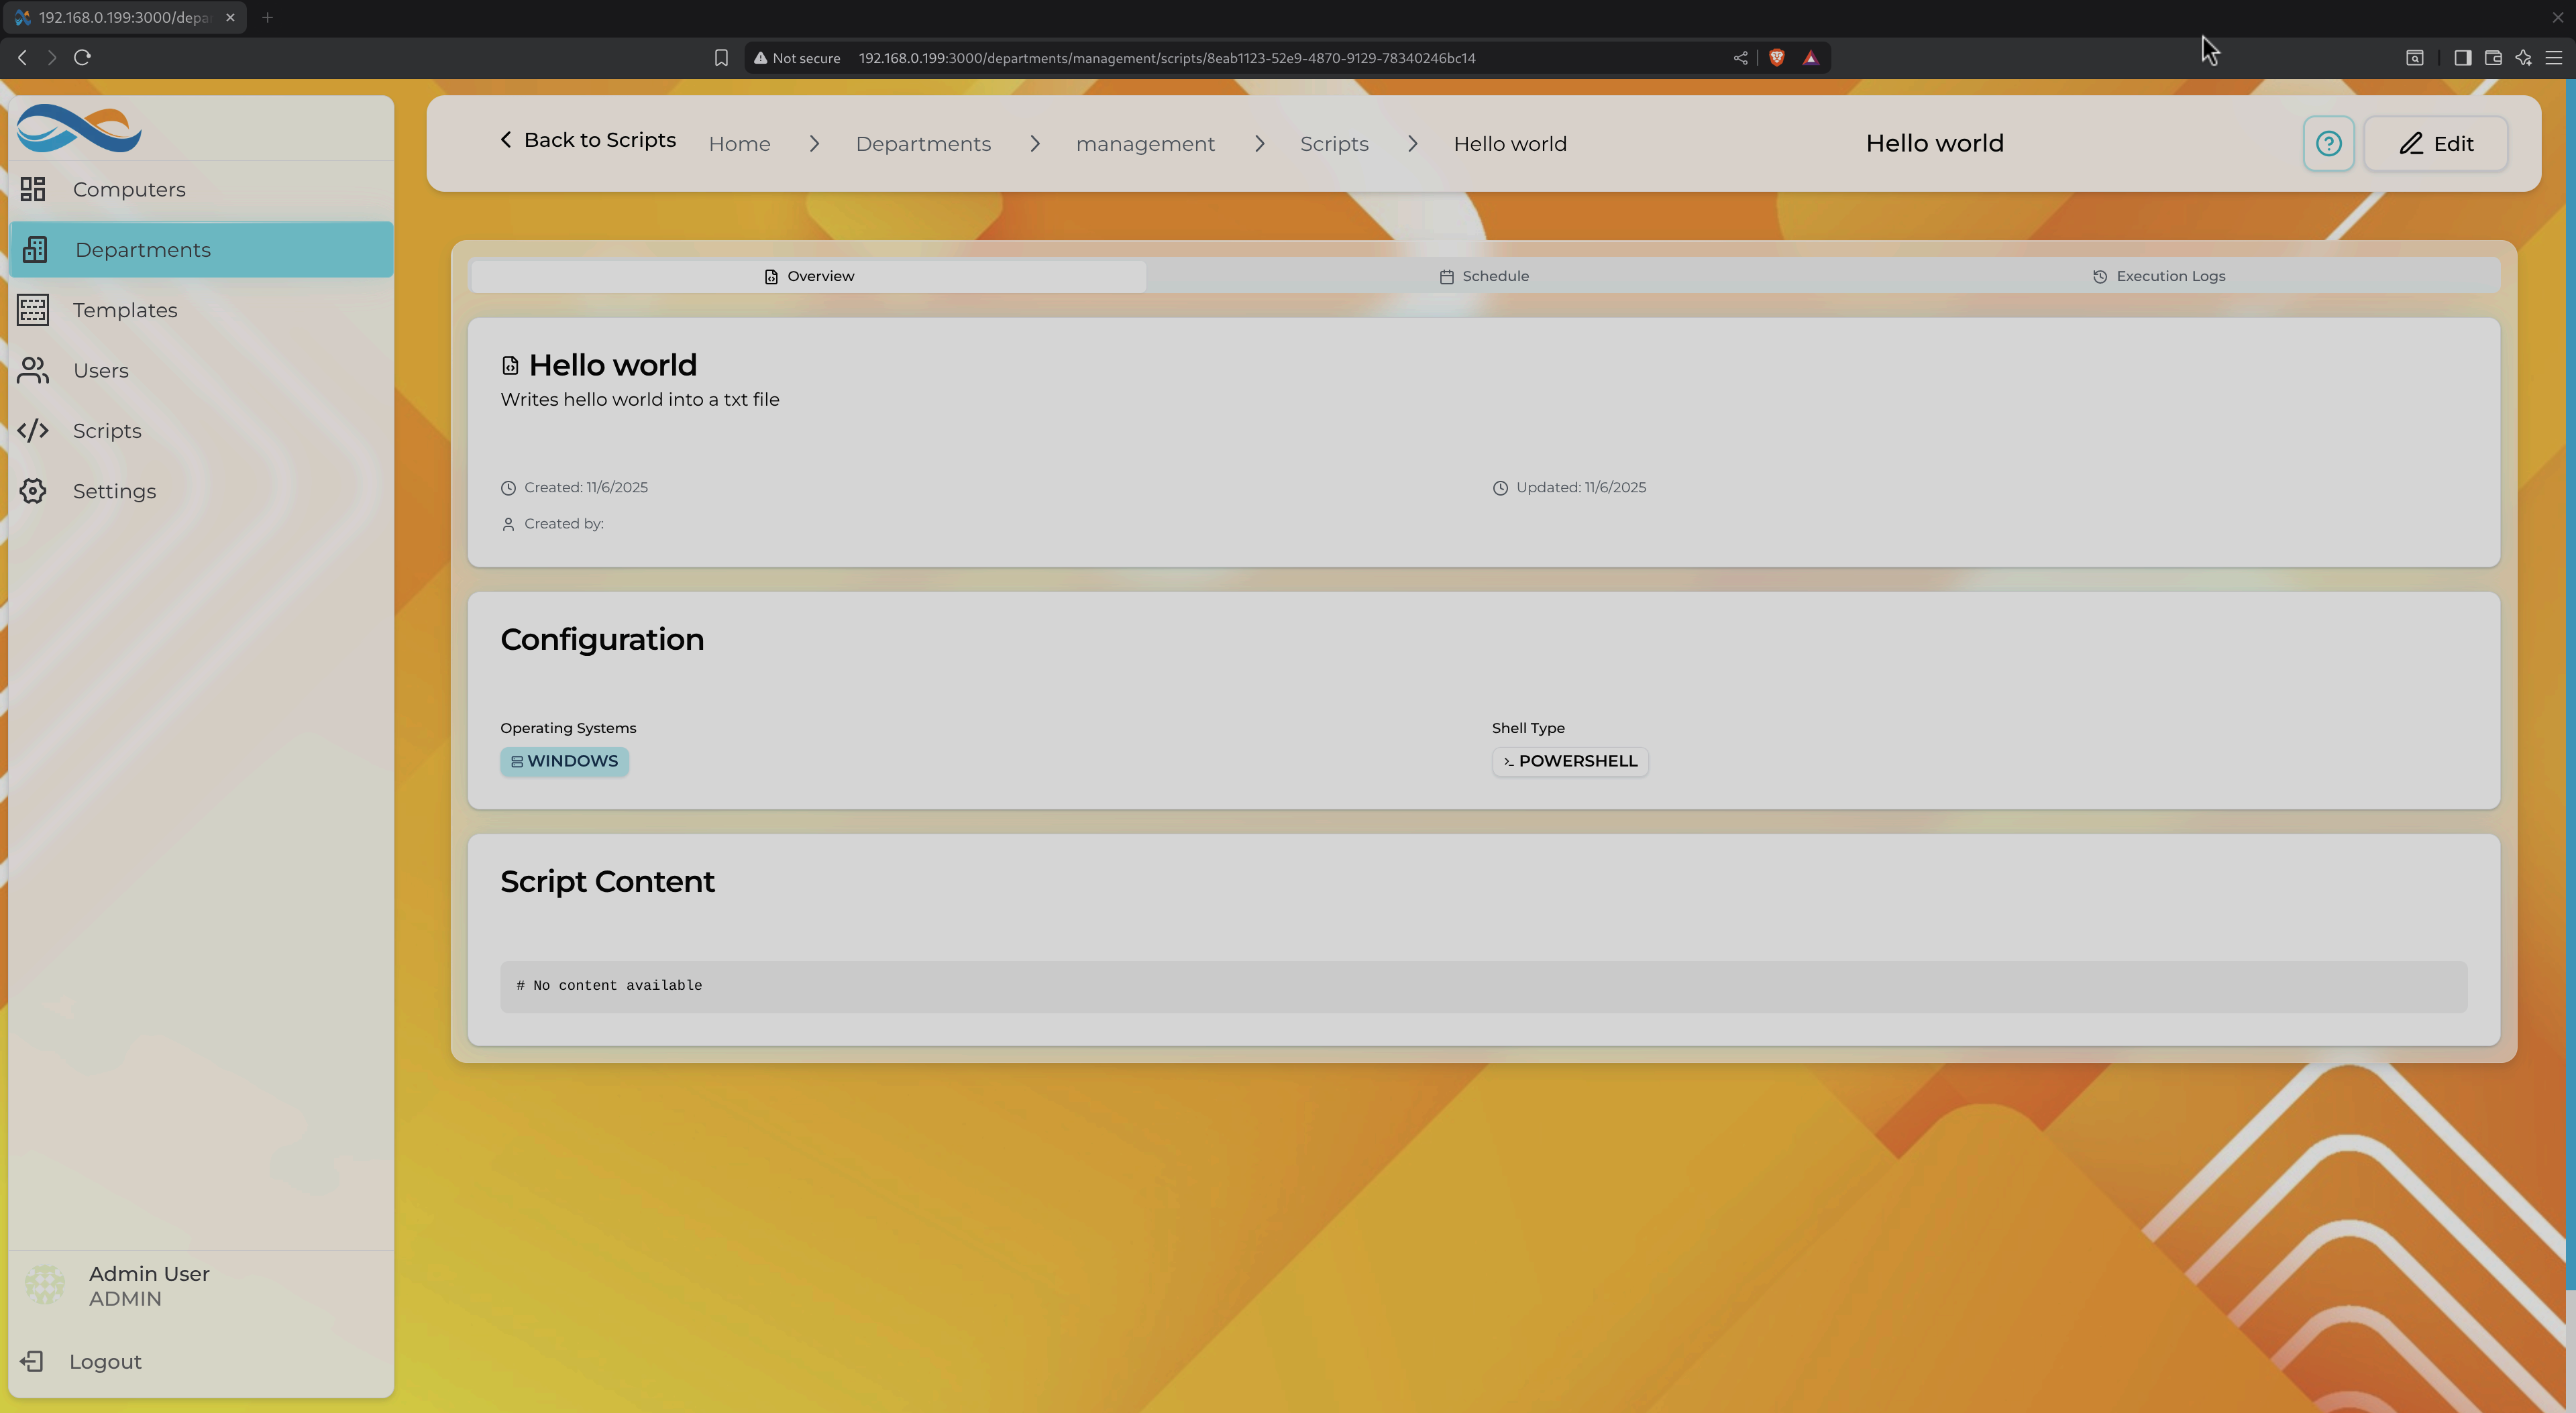
Script detail showing configuration, shell type, and content
Example: Software Installation
Windows (PowerShell):
# Install Chocolatey packages
Set-ExecutionPolicy Bypass -Scope Process -Force
iex ((New-Object System.Net.WebClient).DownloadString('https://chocolatey.org/install.ps1'))

# Install common tools
choco install -y git vscode chrome firefox

Write-Output "Installation complete"
Linux (Bash):
#!/bin/bash
# Update package list and install tools

apt-get update
apt-get install -y git curl wget vim htop

echo "Installation complete"
Example: Monitoring Script
Check Disk Space (Cross-Platform):
# Windows
$disk = Get-PSDrive C | Select-Object Used,Free
$percentFree = ($disk.Free / ($disk.Used + $disk.Free)) * 100

if ($percentFree -lt 10) {
    Write-Error "Low disk space: $percentFree% free"
    exit 1
}

Write-Output "Disk space OK: $percentFree% free"
#!/bin/bash
# Linux
percentUsed=$(df -h / | awk 'NR==2 {print $5}' | sed 's/%//')

if [ $percentUsed -gt 90 ]; then
    echo "ERROR: Low disk space: ${percentUsed}% used"
    exit 1
fi

echo "Disk space OK: ${percentUsed}% used"
Running Scripts
Manual Execution:
- Navigate to Scripts in sidebar
- Find the script and click "Edit" or three-dot menu
- Select "Run Now"
- Choose target VMs (or departments)
- View real-time output in execution logs
Scheduled Execution:
- Open script settings
- Enable "Schedule"
- Configure cron expression or simple schedule (Daily at 2 AM, Weekly on Sunday, etc.)
- Select target VMs/departments
- Configure notifications (email on failure, Slack webhooks, etc.)
First Boot Execution:
- Scripts marked as
FIRST_BOOTrun automatically when a new VM is created - Perfect for initial software installation, configuration, or setup tasks
- Executes after OS installation completes
Script Execution Logs
Every script execution creates a log entry with:
- Timestamp: When the script ran
- Target VM: Which machine executed it
- Exit Code: 0 for success, non-zero for errors
- Output: Full stdout/stderr capture
- Duration: How long the script took
Access logs from Scripts → [Script Name] → Execution Logs tab.
Script Management Features
Search & Filter:
- Search by name or description
- Filter by OS (Windows, Linux)
- Filter by shell type (PowerShell, CMD, Bash, SH)
Categories (Coming Soon):
- Group scripts by purpose: Monitoring, Installation, Backup, Security
- Department-specific script libraries
Version Control (Coming Soon):
- Track script changes over time
- Rollback to previous versions
- Diff view for comparing versions
Security Considerations
Scripts run with elevated privileges (Administrator/Root), so:
- Audit Scripts: Review script content before running
- Restrict Access: Control who can create/edit scripts via user permissions
- Sandbox Testing: Test scripts on non-production VMs first
- Logging: All script executions are logged for auditing
- Code Signing (Coming Soon): Require signed scripts for production
Use Cases
Daily Maintenance:
# Cleanup old logs and temp files
#!/bin/bash
find /var/log -name "*.log" -mtime +30 -delete
apt-get autoremove -y
apt-get autoclean
Security Hardening:
# Disable unnecessary Windows services
Stop-Service -Name Spooler -Force
Set-Service -Name Spooler -StartupType Disabled

# Enable Windows Firewall
Set-NetFirewallProfile -Profile Domain,Public,Private -Enabled True
Application Deployment:
#!/bin/bash
# Deploy Node.js application
cd /opt/myapp
git pull origin main
npm install --production
pm2 restart myapp
UI Customization
Make Infinibay feel like home with full theme, wallpaper, and interface size customization.
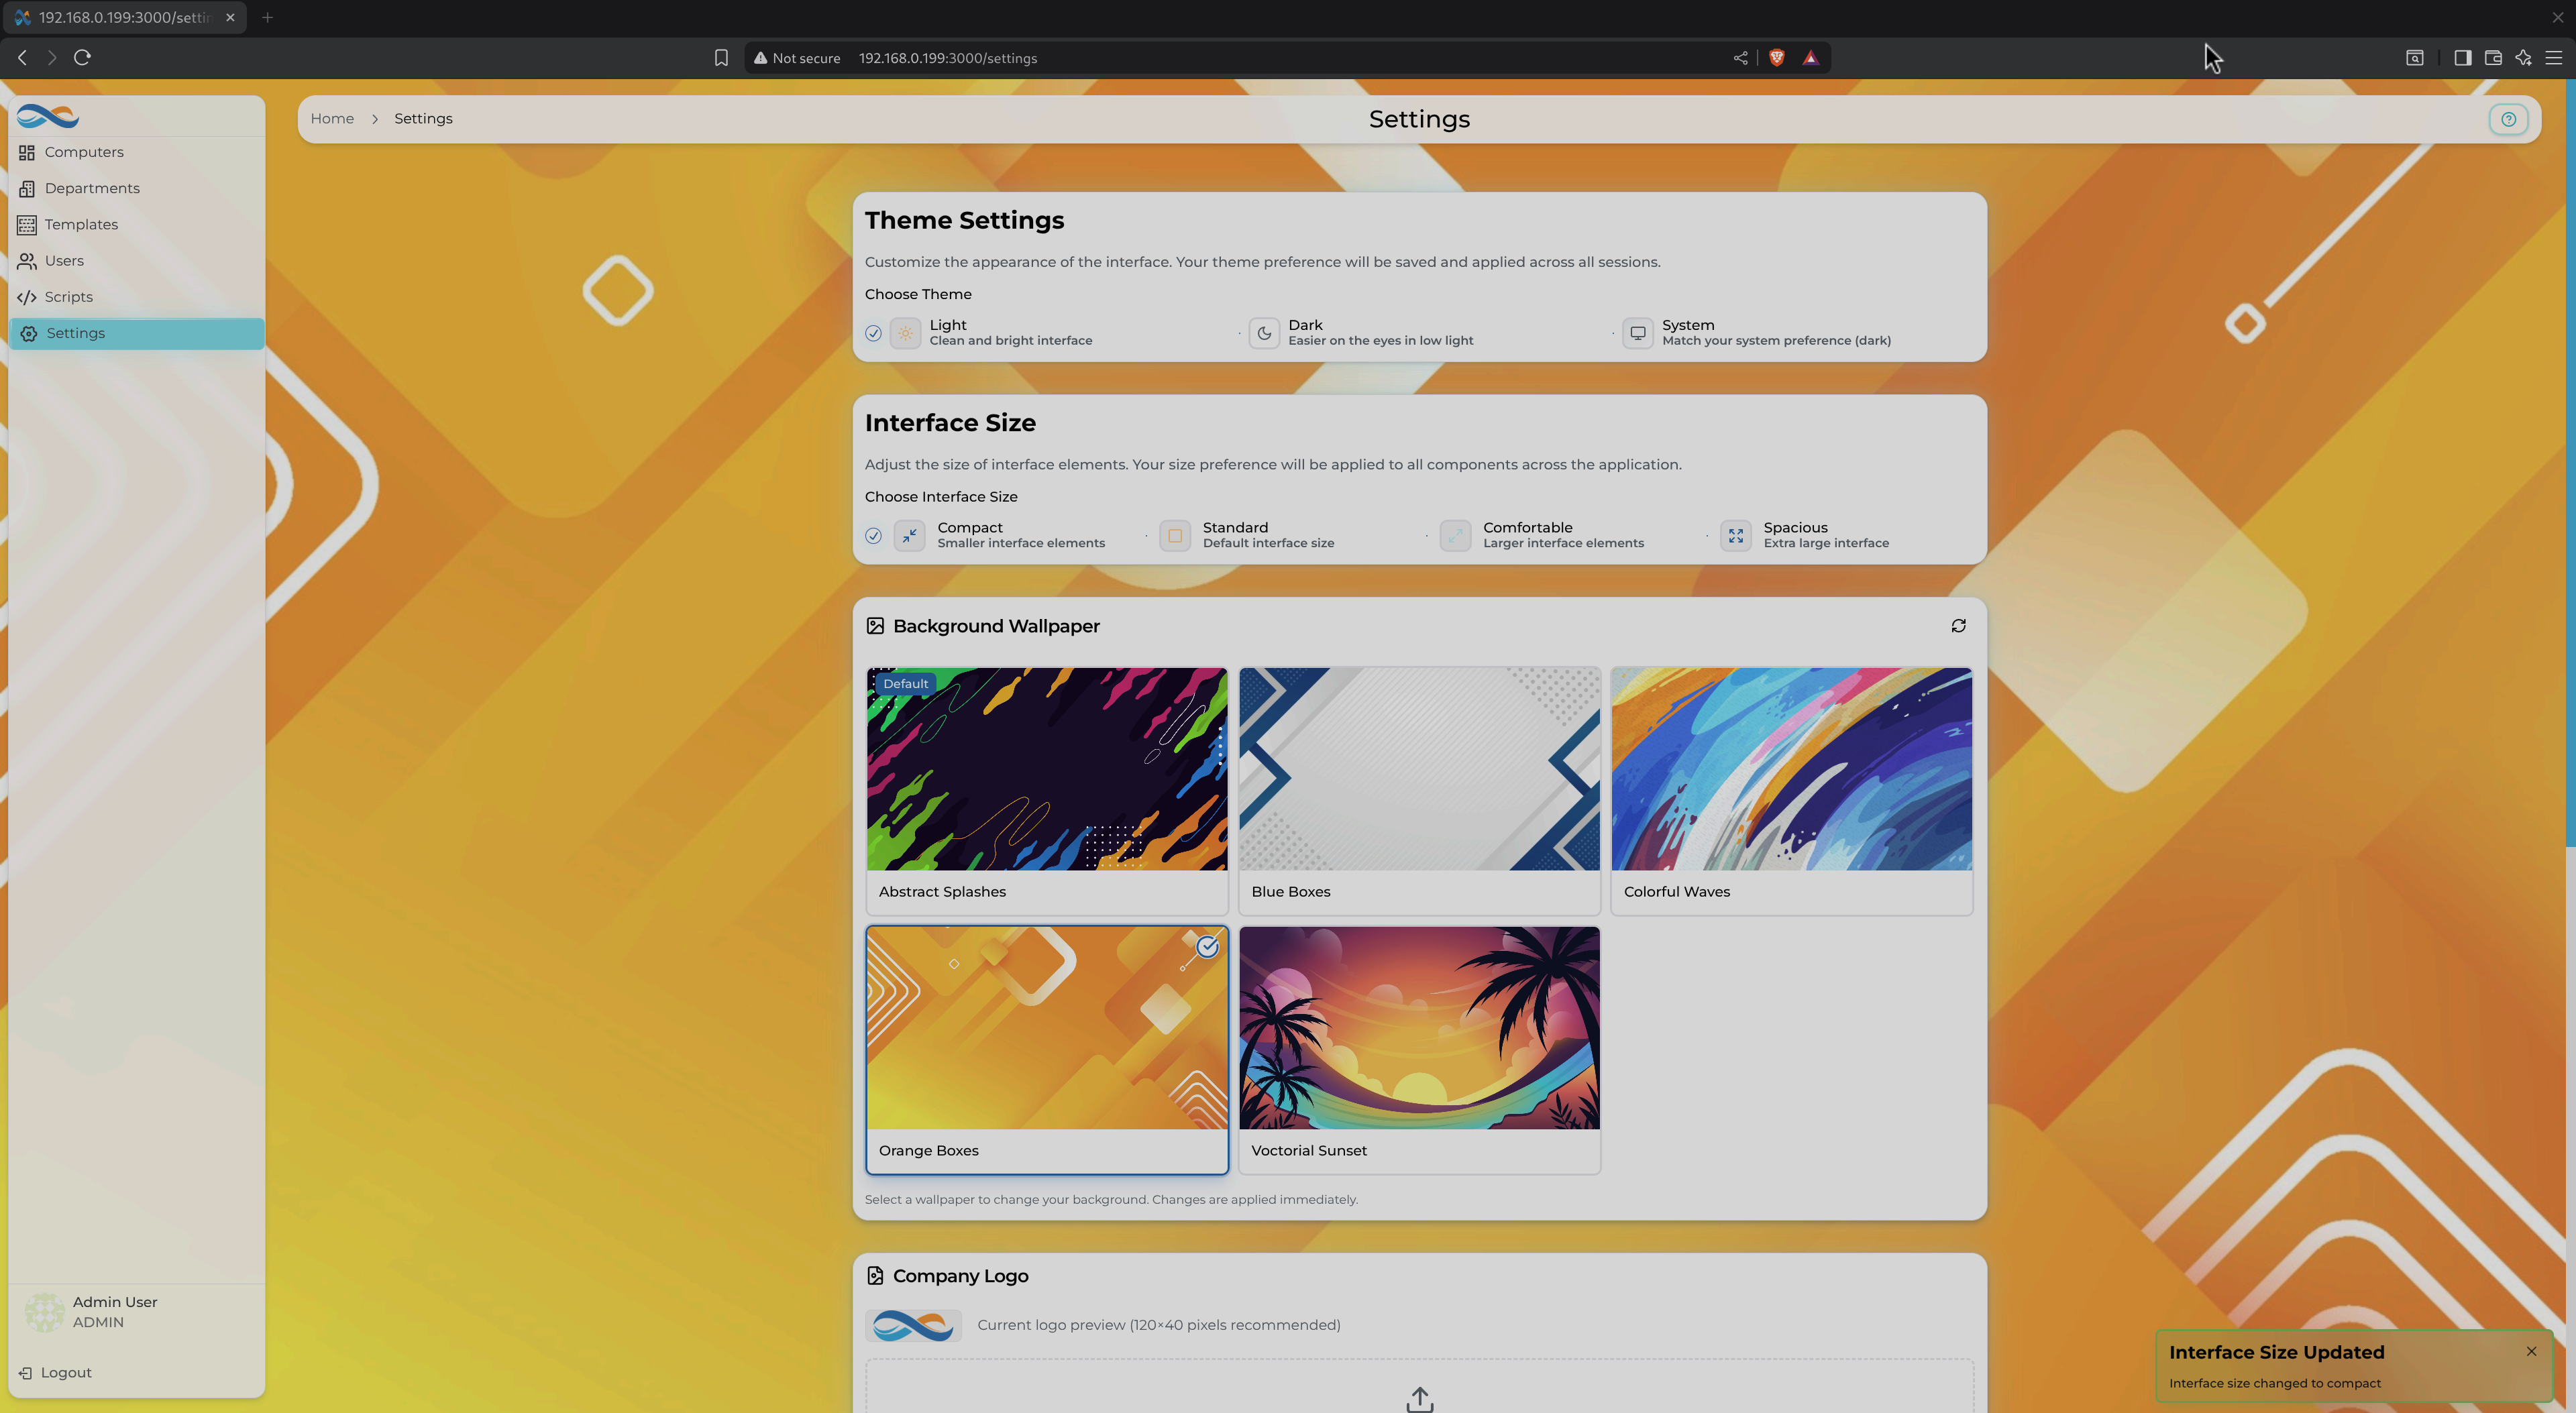
Settings page showing theme options, interface sizing, and wallpaper selection
Theme Settings
Choose your visual preference:
- Light: High-contrast light theme with bright UI elements
- Dark: Easy on the eyes with dark backgrounds (default)
- System: Auto-switch based on OS preferences (follows Windows/Linux theme)
Theme preference is saved per-user and persists across sessions.
Interface Size
Adjust UI element sizing for comfort and screen real estate:
- Compact: Smaller interface elements, more content visible
- Standard: Default sizing (balanced)
- Comfortable: Larger elements, easier to read
- Spacious: Maximum spacing, ideal for large monitors
Interface size affects:
- Font sizes
- Button padding
- Table row heights
- Modal dialog sizes
- Sidebar width
Perfect for:
- 4K displays: Use "Compact" to fit more content
- Accessibility: Use "Spacious" for easier clicking
- Touch screens: "Comfortable" or "Spacious" for finger-friendly UI
Background Wallpaper
Personalize your dashboard with built-in or custom wallpapers.
Built-in Wallpapers:
- Autumn Spirals: Warm orange geometric patterns (default)
- Blue Boxes: Cool blue abstract shapes
- Colorful Waves: Vibrant rainbow gradients
- Orange Boxes: Bold geometric orange design
- Watercolor Sunset: Soft tropical sunset scene
Custom Wallpaper:
- Click "Custom Image" in wallpaper selector
- Upload image (PNG, JPG, max 5MB)
- Preview before applying
- Infinibay auto-optimizes for performance (resizes, compresses)
Wallpaper Management:
- Remove custom wallpapers via trash icon
- Wallpapers stored per-user
- Default wallpaper applied to new users
Company Logo
Administrators can customize the company logo shown in:
- Login screen
- Top-left navigation
- Email notifications
- PDF reports
Logo Requirements:
- Format: PNG with transparency (recommended) or JPG
- Dimensions: 520x520 pixels minimum
- File size: Maximum 2MB
Upload from Settings → Company Logo → Upload.
Customization Best Practices
Consistency:
- Set company-wide defaults for theme and wallpaper
- Allow users to override for personal preference
- Use company logo for brand consistency
Accessibility:
- Test theme contrast with WCAG compliance tools
- Provide "High Contrast" mode (coming soon)
- Ensure wallpapers don't interfere with text readability
Performance:
- Use optimized wallpapers (avoid 4K+ images)
- Limit custom logo to reasonable file sizes
- Infinibay automatically compresses uploaded assets
Related Documentation
- VM Lifecycle Management - Creating VMs with GPU passthrough
- Organization & Security - Scripts for firewall automation
- Backend: CPU Pinning - Technical details of performance optimization
- Backend: XML Generation - How GPU passthrough XML is generated